- Launch the IDE and install the plugin.
- Restart the IDE.
- Configure one or more remote sync configurations to target the remote environment where
you would like to transfer your changes. To create or edit your sync configurations you would have to:
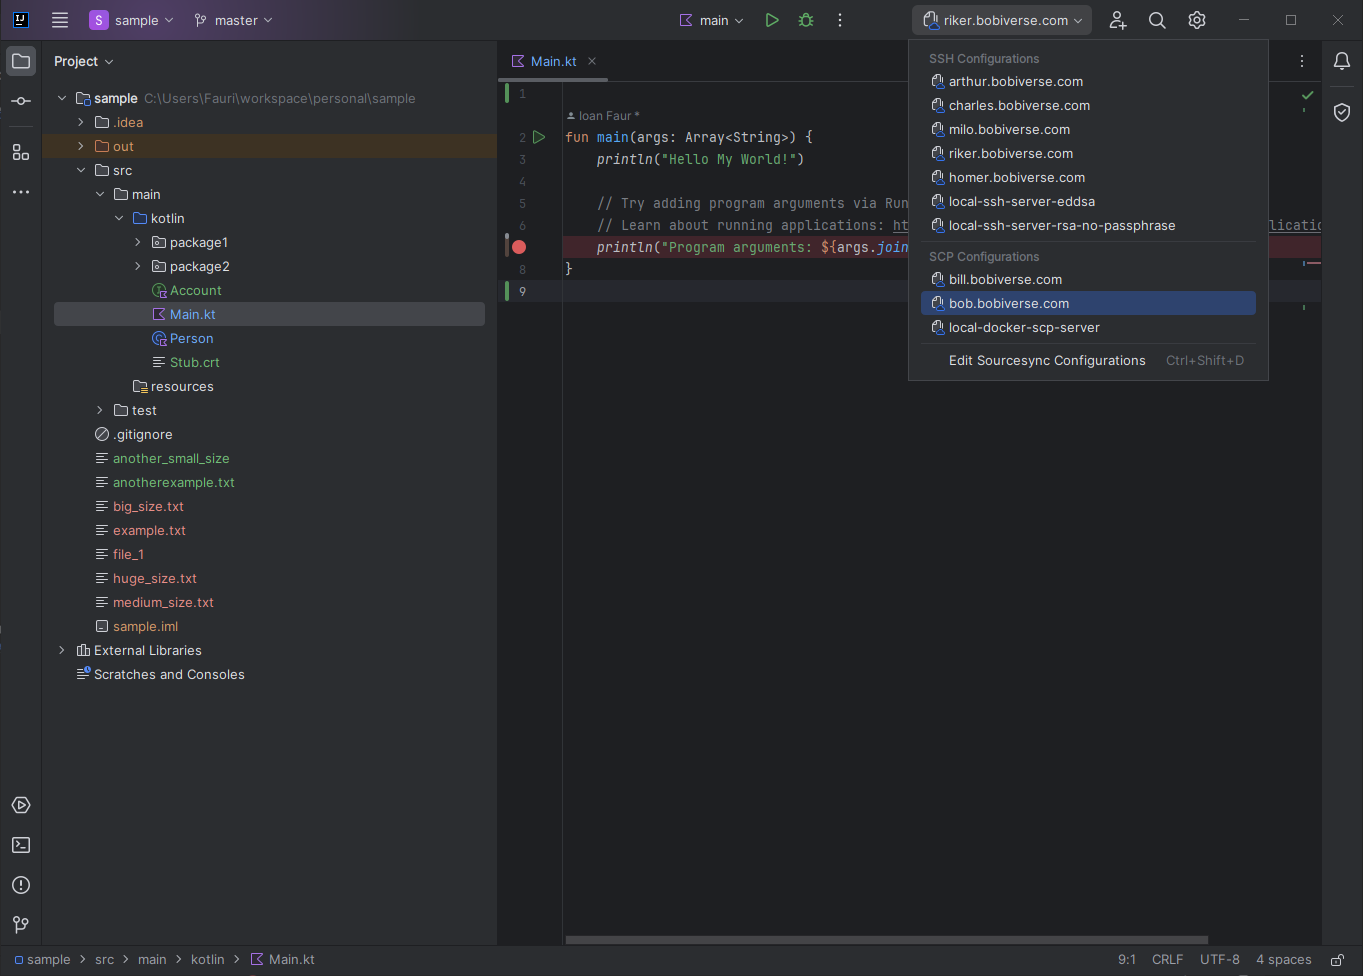
- locate the Sourcesync Configurations combo box in the IntelliJ’s main toolbar panel.

- Click the combo box drop down icon and then hit the Edit Sourcesync Configurations button.
- In the new Sourcesync Remote Configurations dialog, click + on the toolbar or press
Alt + Insert.
The list shows the SCP&SSH templates available for configuration.
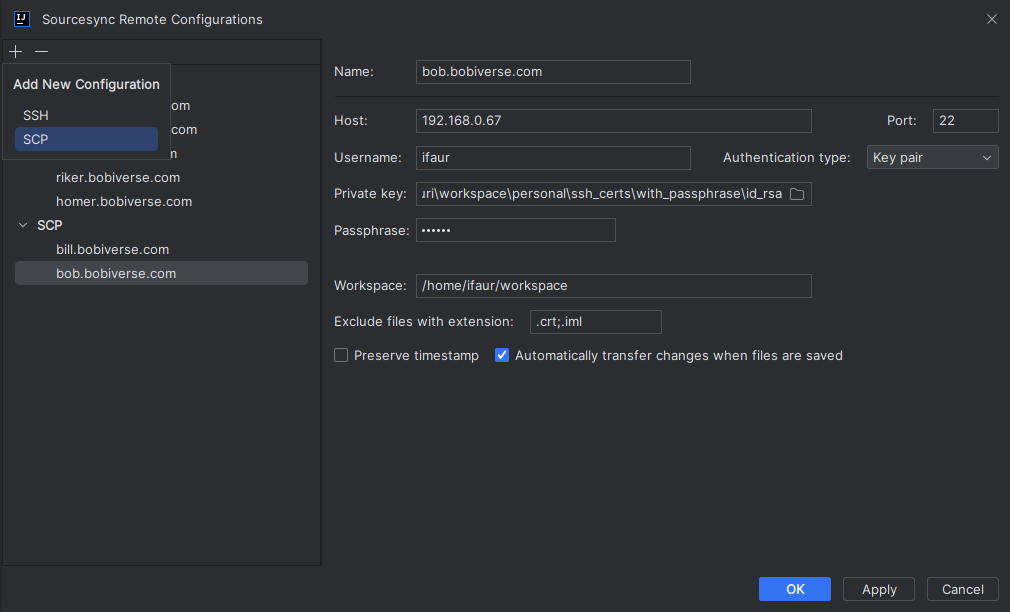
- Specify the sync configuration name in the Name field. This name will be shown in the list of the available sync configurations.
- Fill in the connection details like host, username and password or certificate, depending on the desired authentication type.
- Specify the remote base path (excluding the project name) where your files will be transferred.
- Apply the changes and close the dialog.
- From the Sourcesync Configurations combo box select a sync configuration as primary target
- Select one or more files, right click, and in the context menu select Sync selected files to target name. Alternatively, press
Ctrl + Shift + F2
- Alternatively only the file under edit (focused editor) could be transferred by right click in the editor, and in the context
menu select Sync this file to target name or just press
Ctrl + Shift + F1
- A third option is to sync all Git changed files by right click in the editor or Project toolbar, and then select Sync changed files to target name. Alternatively, press
Ctrl + Shift + F3